Professional stone floor cleaning across gloucestershire and the cotswolds
The Cotswolds and Gloucestershire are known for their character properties, charming farmhouses, and elegant stone floors that add timeless appeal to any interior. However, maintaining these floors requires care and expertise. Whether you have limestone in your kitchen, slate in your hallway, or marble in your entranceway, professional stone floor cleaning can restore their natural beauty and ensure they last for decades.
A Local Service You Can Trust
Choosing a local cleaning company means choosing someone who understands the materials commonly found in homes across the region. Cotswold limestone, for instance, has its own unique characteristics and requires a gentler approach than harder stones. Our local expertise ensures every floor is treated with the correct techniques and products.
Tailored Cleaning for Every Type of Stone
Each stone type requires a slightly different method of cleaning and maintenance:
-
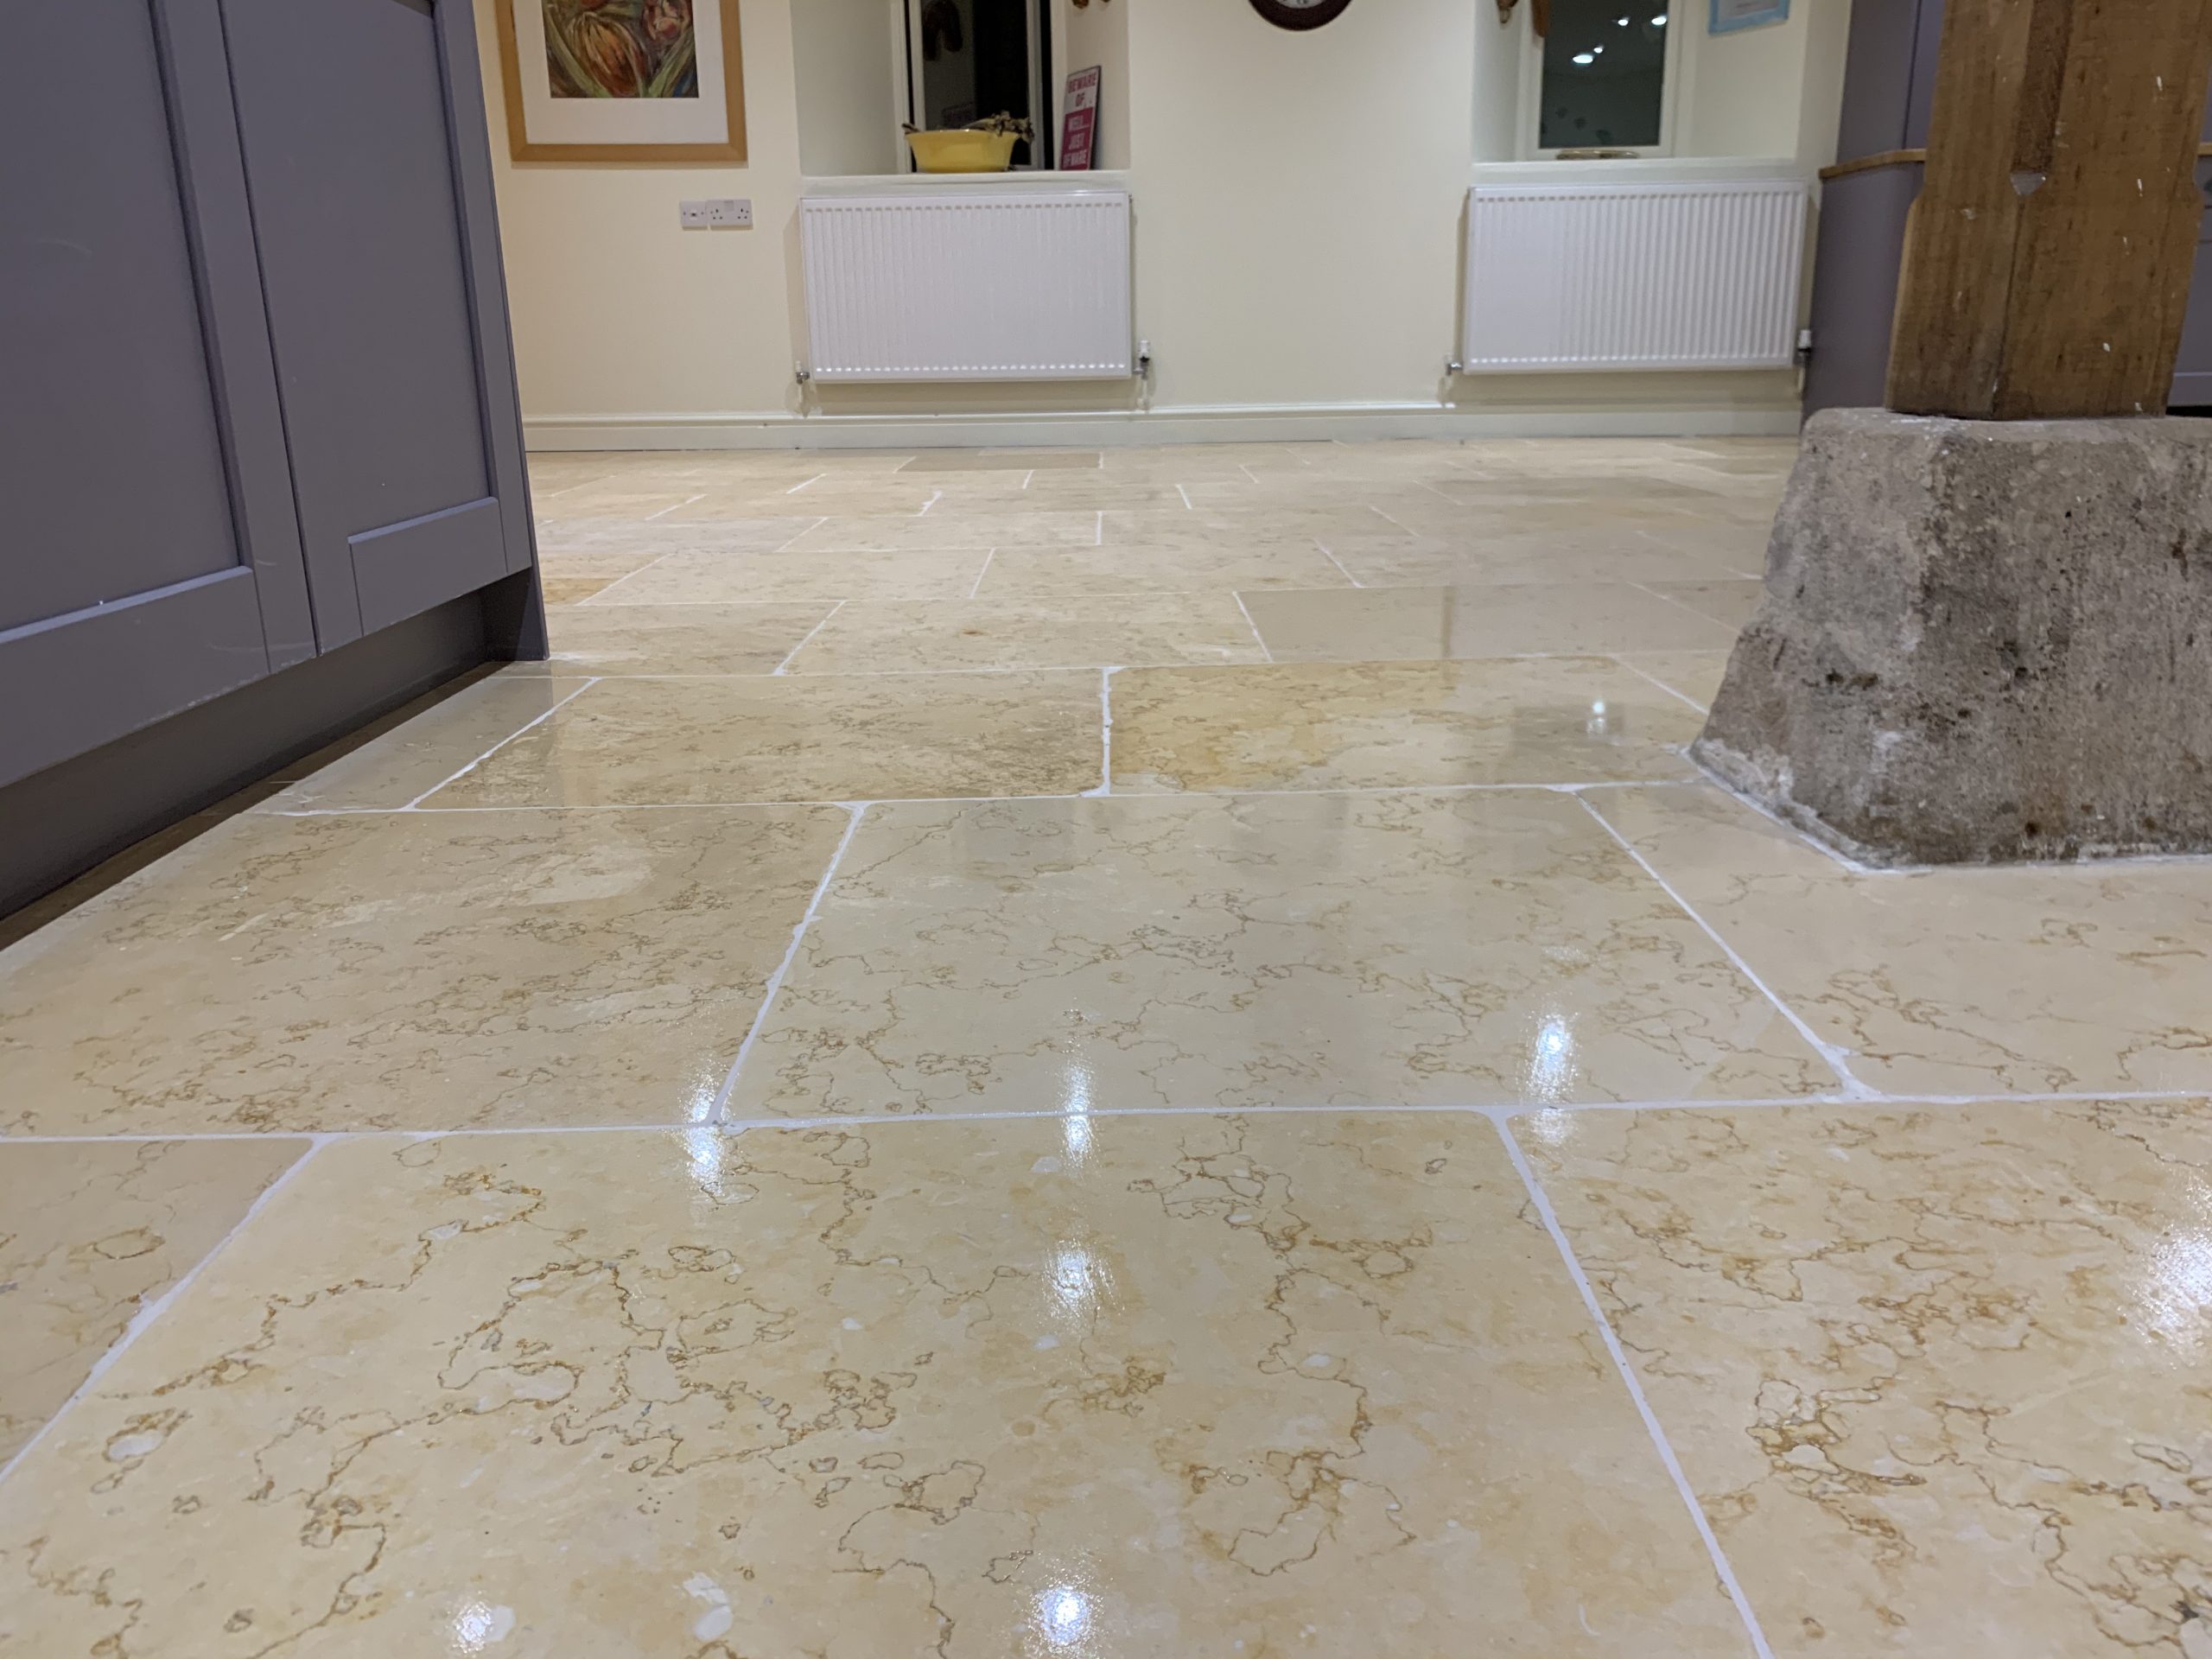
Limestone and Travertine: Gentle deep cleaning followed by sealing to protect against staining.
-
Slate and Sandstone: Deep scrubbing and neutralising to enhance texture and colour.
-
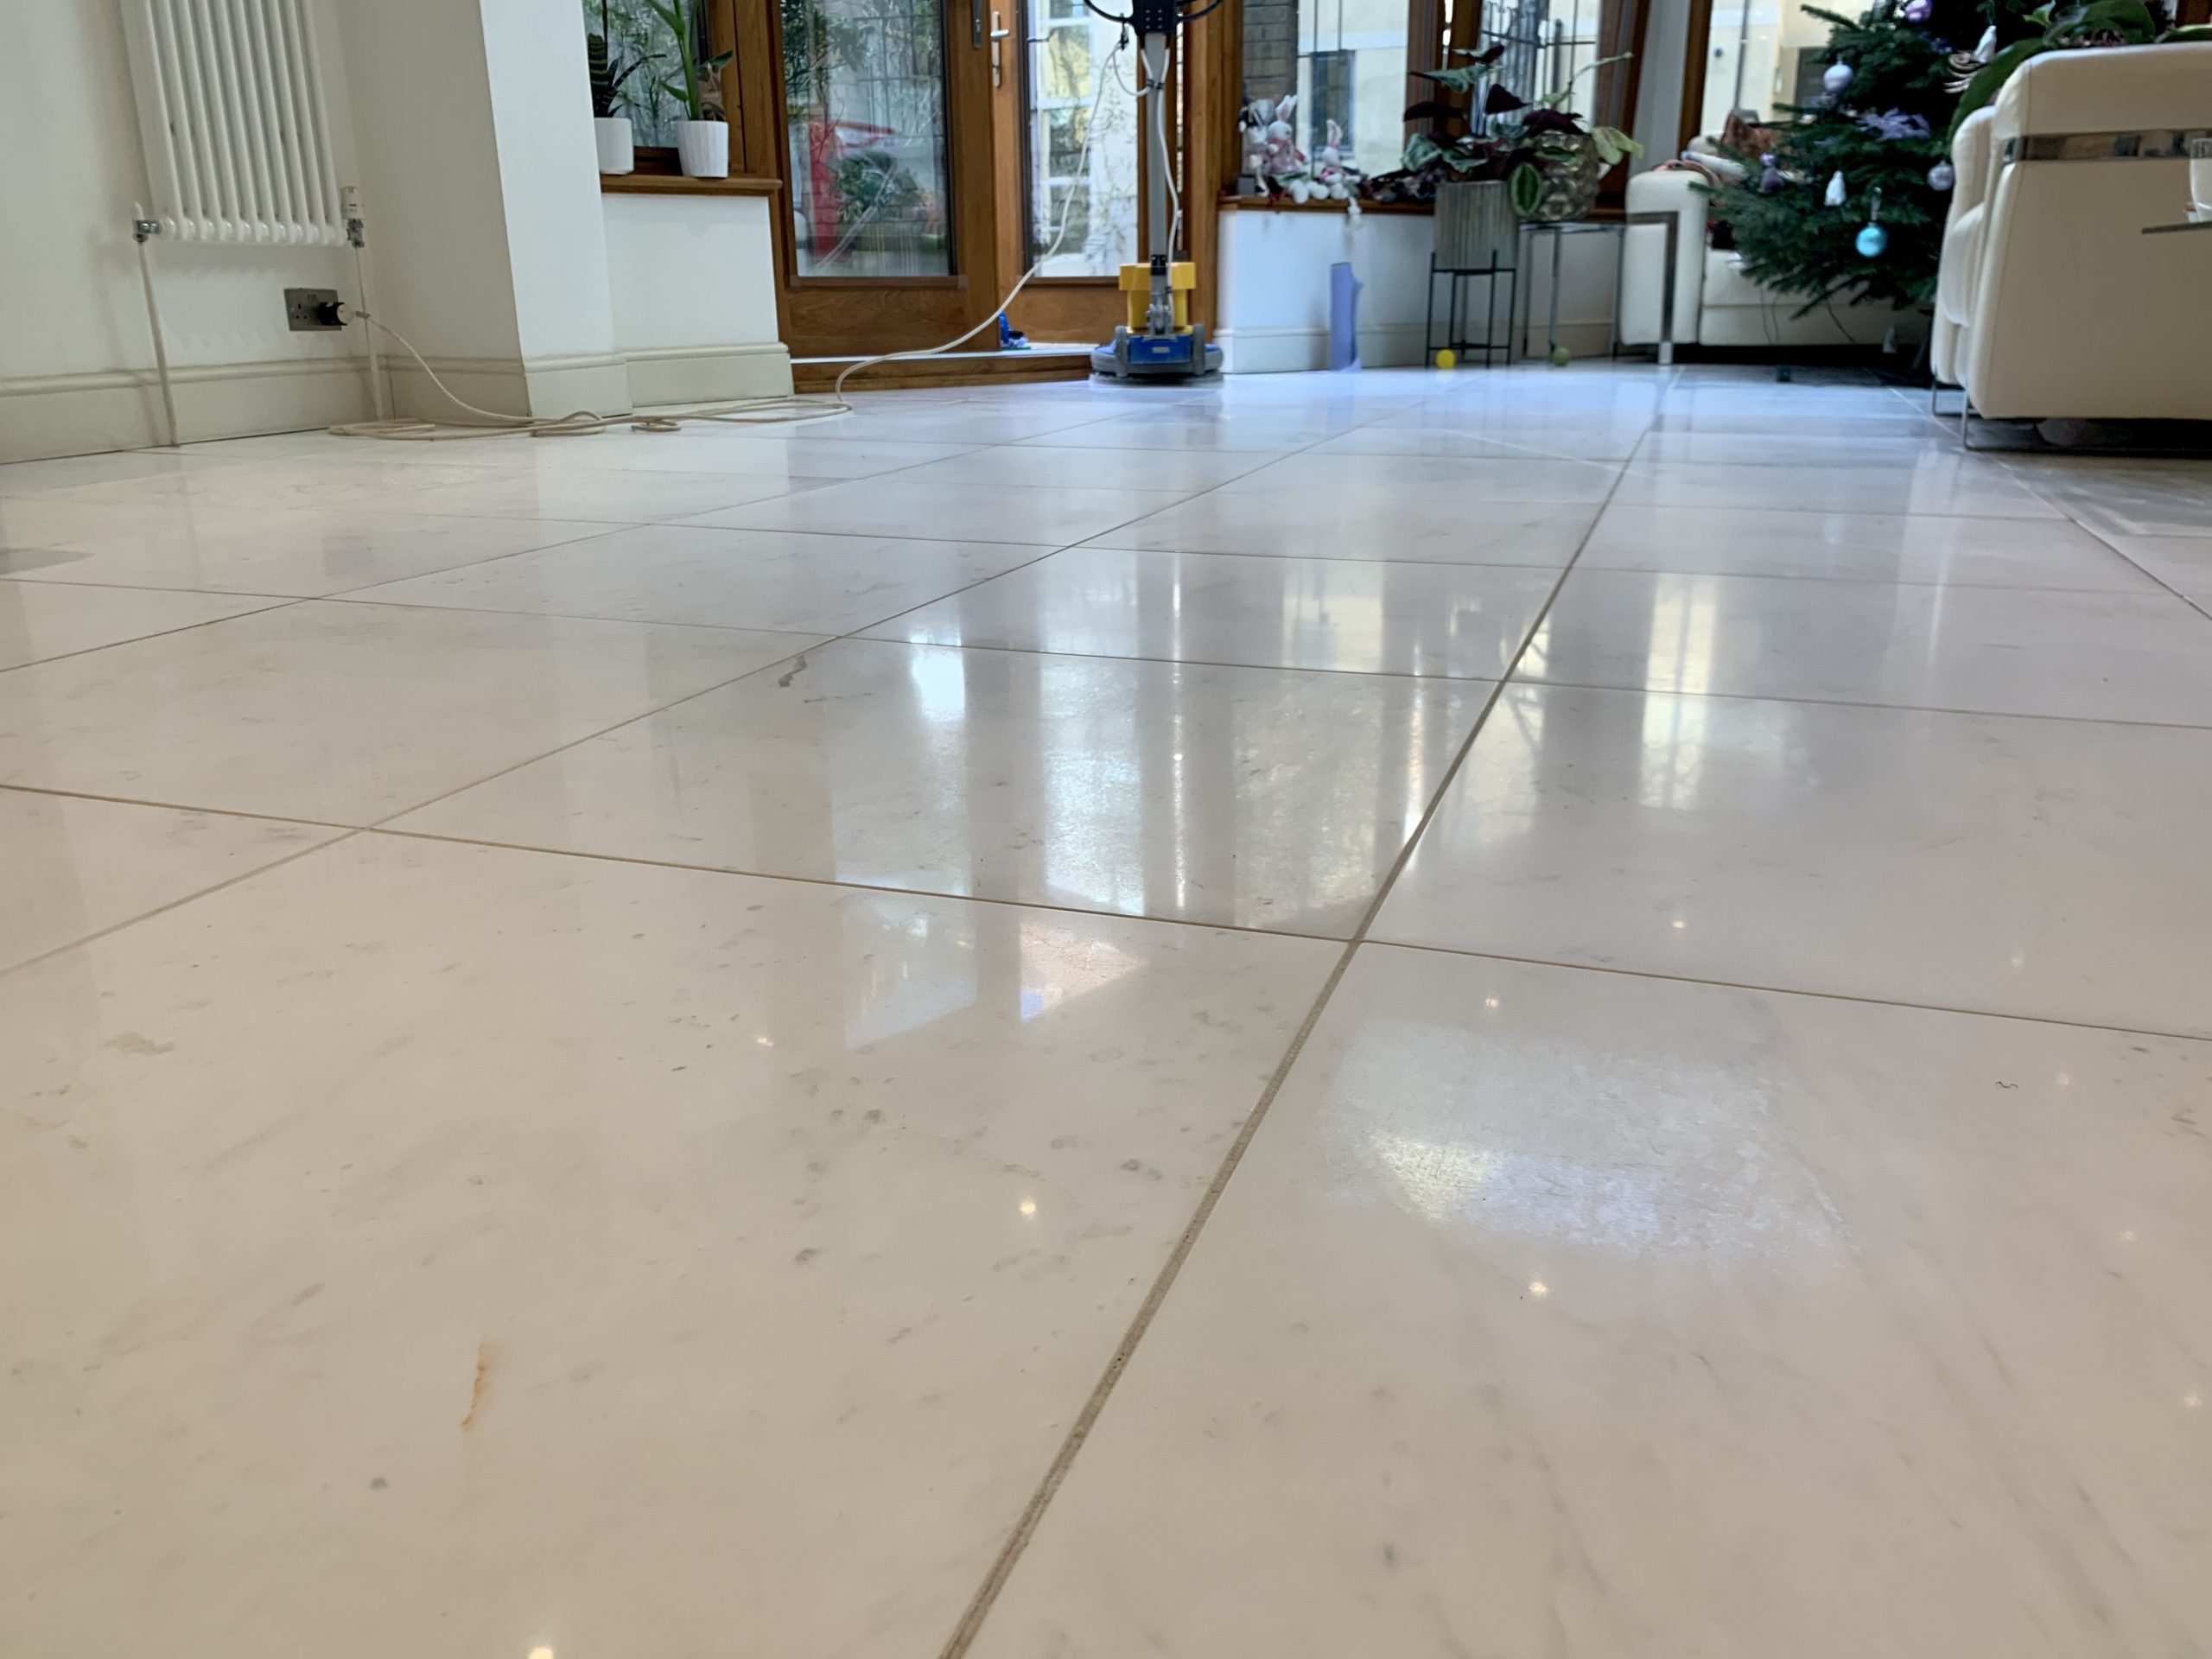
Marble and Granite: Polishing and sealing to restore the glossy finish and prevent etching.
Our process includes a detailed inspection, professional-grade cleaning, sealing, and optional polishing, depending on your floor type and finish.
Why Choose Professional Cleaning?
Over time, dirt, oils, and cleaning residues build up in stone pores, making floors look dull or discoloured. Household cleaners often contain acids or abrasives that can permanently damage natural stone. Professional cleaning removes this build-up safely, using pH-neutral solutions and advanced equipment that penetrates deep below the surface.
Serving Homes and Businesses
We work with both residential and commercial clients across Gloucestershire and the Cotswolds, including hotels, restaurants, and heritage properties. Whether you need a one-off clean or ongoing maintenance, we deliver a service tailored to your specific flooring and usage level.
Proudly serving Gloucestershire and the Cotswolds, we specialise in stone floor cleaning, sealing, and restoration for homes and businesses. From Limestone Cleaning to Marble Polishing and Slate Restoration, our local team delivers exceptional results for every surface. Contact us to book your professional clean today.