Porcelain

The best way to remove scratches from Porcelain Floors

Porcelain floors are known for their durability and elegant appearance, making them a popular choice for many homes and businesses. However, like any flooring material, porcelain can develop scratches over time due to heavy foot traffic, moving furniture, or accidental impacts. When it comes to porcelain floor scratch removal, homeowners often face a decision: should they attempt to fix the scratches themselves or hire professional services? This article will compare the pros and cons of both DIY porcelain floor scratch removal methods and professional services, helping you make an informed decision.

Overview of DIY Methods

DIY methods for removing scratches from porcelain floors can be appealing due to their cost-effectiveness and convenience. Here are some common DIY techniques:

  • Porcelain Repair Kits: These kits, available at most hardware stores, typically include a filler, a touch-up marker, and sometimes a sealant. They are designed to repair minor scratches and chips.
  • Baking Soda Paste: Mixing baking soda with water to create a paste can help remove superficial scratches. Apply the paste to the scratch, gently rub with a soft cloth, and rinse with water.
  • Nail Polish: For minor surface scratches, clear nail polish can be applied to fill the scratch and then buffed to blend with the surrounding area.

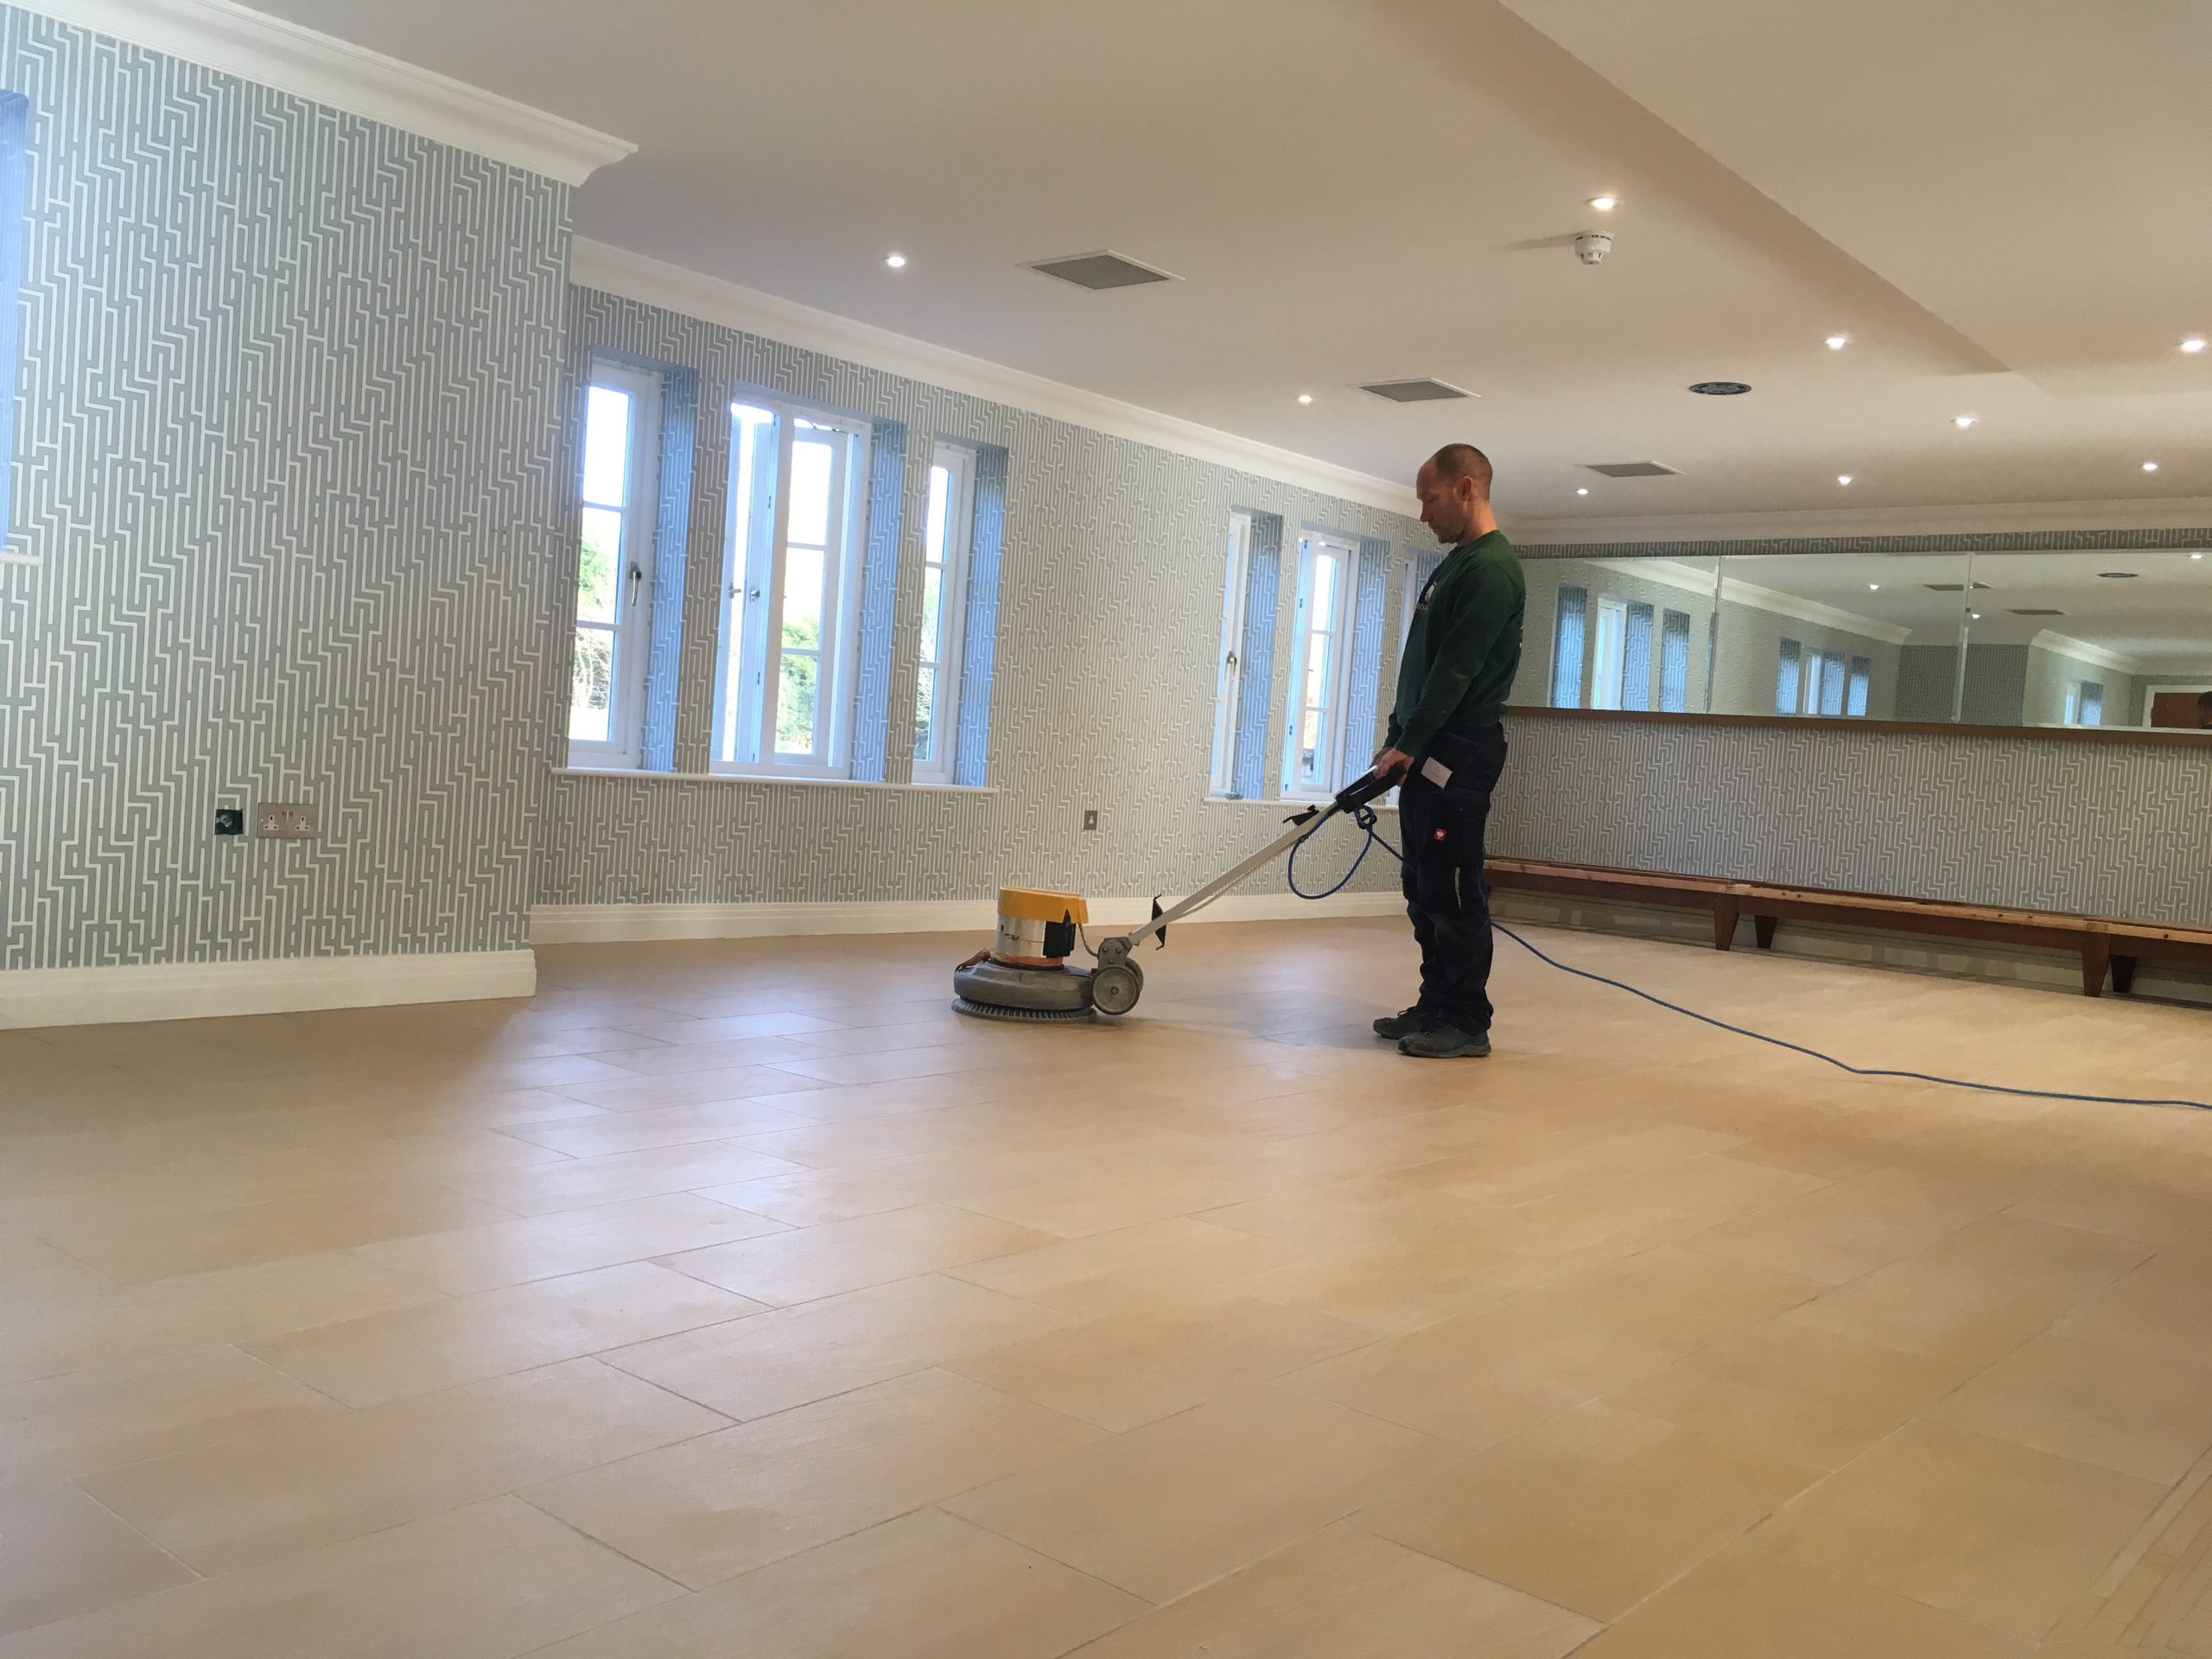
Benefits of Professional Services

While DIY methods can be effective for minor scratches, there are several benefits to hiring professional services for porcelain floor scratch removal:

  • Expertise and Experience: Professionals have extensive experience dealing with various types of scratches and flooring materials. They can assess the damage accurately and choose the best method for removal.
  • Advanced Tools and Techniques: Professional services have access to specialized tools and high-quality products that are not always available to consumers. This ensures a more thorough and lasting repair.
  • Comprehensive Service: Professionals can address not only the scratches but also provide additional services such as polishing, sealing, and maintenance advice to keep your floors in optimal condition.
  • Time-Saving: Hiring a professional saves you time and effort. You won’t need to spend hours researching techniques or purchasing products. Instead, you can trust the job to be done efficiently and effectively.

Cost and Effectiveness Comparison

DIY Methods:

  • Cost: Generally, DIY methods are less expensive upfront. Porcelain repair kits and household items like baking soda and nail polish are relatively inexpensive.
  • Effectiveness: While DIY methods can be effective for minor scratches, they may not provide a lasting solution for deeper or more extensive damage. In some cases, improper use of DIY techniques can even worsen the scratches.

Professional Services:

  • Cost: Professional services come with a higher initial cost compared to DIY methods. However, this cost can be justified by the quality and longevity of the repair.
  • Effectiveness: Professionals are more likely to deliver a permanent and aesthetically pleasing solution. They can handle both minor and major scratches, ensuring the floor looks as good as new.

When deciding between DIY and professional services for porcelain floors scratch removal, consider the extent of the damage, your budget, and your comfort level with DIY repairs. DIY methods can be a cost-effective solution for minor scratches, offering a quick fix with readily available products. However, for more extensive or deeper scratches, professional services provide the expertise, tools, and comprehensive care needed to restore your floors to their original beauty.

Investing in professional services may have a higher initial cost, but the long-term benefits of a thorough and lasting repair can outweigh the expense. Ultimately, a combination of regular maintenance, prompt attention to minor scratches, and professional care for significant damage will ensure your porcelain floors remain in excellent condition for years to come.  Contact us for a porcelain floor scratch removal quote

Posted by William Gardner

A guide to Porcelain Floor Restoration

Porcelain floors are a popular choice for their durability, aesthetic appeal, and ease of maintenance. However, over time, even the most well-maintained porcelain floors can lose their lustre and develop issues such as stains, scratches, and dullness. Restoring porcelain floors is a process that can rejuvenate their appearance and extend their lifespan. In this guide, we’ll walk you through the steps involved in porcelain floor restoration, from initial assessment to achieving a like-new finish.

Assessing the Condition of Your Porcelain Floor

The first step in the restoration process is to assess the condition of your porcelain floor. This involves:

  1. Inspecting for Damage: Look for visible signs of wear and tear, including scratches, chips, cracks, and stains. Note any areas that appear more damaged than others.
  2. Evaluating the Finish: Determine whether the finish of the tiles has become dull or discoloured. Polished porcelain tiles, in particular, can lose their shine over time.
  3. Checking the Grout: Inspect the grout lines for dirt, discolouration, or damage. Grout can significantly impact the overall appearance of your floor.

Cleaning and Preparing the Floor

Proper cleaning is essential before any restoration work begins. Follow these steps to prepare your floor:

  1. Remove Surface Dirt: Sweep or vacuum the floor to remove loose dirt and debris. This prevents scratching during the cleaning process.
  2. Deep Clean the Tiles: Use a pH-neutral cleaner specifically designed for porcelain floors. Avoid acidic or abrasive cleaners, which can damage the tiles. Mop the floor thoroughly, ensuring all dirt and grime are removed.
  3. Clean the Grout Lines: Use a grout cleaner and a stiff brush to scrub the grout lines. For stubborn stains, consider using a steam cleaner.

Repairing Chips and Cracks

Addressing chips and cracks is crucial to restoring the appearance and integrity of your porcelain floor:

  1. Small Chips: For minor chips, use a porcelain repair kit that matches the colour of your tiles. Apply the repair compound as directed, and smooth it out to blend with the surrounding tile.
  2. Cracks: Fill small cracks with an epoxy or resin filler designed for porcelain. For larger cracks or extensive damage, it may be necessary to replace the affected tiles.

Polishing and Refinishing

Polishing is a key step in restoring the shine of polished porcelain tiles:

  1. Polishing Compound: Apply a porcelain polishing compound with a soft cloth or a polishing machine. Work in small sections, using circular motions to achieve an even finish.
  2. Buffing: Buff the floor with a clean, dry cloth or a buffing pad to remove any residue and enhance the shine. For best results, use a high-speed buffer.
  3. Sealing: If your tiles have a polished finish, apply a porcelain sealer to protect the surface and maintain the shine. Follow the manufacturer’s instructions for application and drying times.

Sealing the Grout

Sealing the grout is an important step to prevent future stains and maintain a clean appearance:

  1. Choose the Right Sealer: Select a penetrating grout sealer that is compatible with porcelain tiles. Avoid topical sealers, as they can create a glossy finish that may not match your tiles.
  2. Apply the Sealer: Use a small brush or applicator bottle to apply the sealer evenly along the grout lines. Wipe away any excess sealer from the tiles to prevent residue buildup.
  3. Allow to Cure: Let the sealer cure according to the manufacturer’s instructions. This typically takes 24 to 48 hours.

Regular Maintenance Tips

To keep your restored porcelain floor looking its best, follow these maintenance tips:

  1. Routine Cleaning: Sweep or vacuum regularly to remove dirt and debris. Mop with a pH-neutral cleaner as needed.
  2. Protective Measures: Use felt pads under furniture legs to prevent scratches. Place doormats at entryways to reduce dirt and grit on the floor.
  3. Spot Cleaning: Promptly clean up spills to prevent stains. Use a damp cloth and a mild cleaner for spot cleaning.
  4. Periodic Sealing: Reapply grout sealer every 12 to 18 months to maintain protection.

Restoring porcelain floors involves a combination of thorough cleaning, repairing damage, polishing, and sealing. By following these steps, you can rejuvenate your porcelain tiles and enjoy their beauty and durability for many years. Whether you choose to tackle the restoration yourself or hire a professional service, the effort will be well worth it when you see the renewed shine and elegance of your floors.

For those in the Gloucestershire and Cotswolds area seeking expert porcelain floor restoration services, our team of professionals is here to help. Contact us today to schedule a consultation and let us bring your porcelain floors back to life.

Posted by William Gardner

Professional Porcelain Floor Cleaning Services: What to Expect

Porcelain floors are renowned for their durability, elegance, and ease of maintenance. However, to keep them looking their best, periodic professional cleaning is essential. This post will delve into the benefits of hiring professional porcelain floor cleaning services and what you can expect from such a service.

Why Choose Professional Cleaning for Your Porcelain Floors?

  1. Expertise and Experience: Professional cleaners possess the knowledge and skills required to handle various types of porcelain tiles. They understand the intricacies involved in cleaning different finishes, whether they are polished, matte, or textured.
  2. Advanced Equipment: Professionals use state-of-the-art equipment that can achieve a deeper clean than regular household tools. This includes high-powered vacuum cleaners, specialised brushes, and industrial-grade steam cleaners designed to remove ingrained dirt and grime.
  3. Specialised Cleaning Solutions: Professional cleaning services have access to high-quality, specialised cleaning products that are safe for porcelain tiles. These products are effective at removing stains, dirt, and bacteria without damaging the surface of the tiles.
  4. Time and Effort Saving: Cleaning porcelain floors thoroughly can be time-consuming and physically demanding. Hiring professionals allows you to save time and effort, ensuring your floors receive the best possible care without you having to lift a finger.
  5. Longevity and Preservation: Regular professional cleaning helps maintain the integrity and appearance of your porcelain floors, prolonging their lifespan. Professionals can also provide advice on how to care for your floors between cleaning sessions.

What to Expect from Professional Porcelain Floor Cleaning Services

When you hire a professional cleaning service, you can expect a thorough and efficient process designed to leave your porcelain floors spotless and well-maintained. Here’s what typically happens during a professional cleaning session:

  1. Initial Assessment: The process usually begins with an initial assessment of your floors. The cleaning team will inspect the condition of the tiles and grout, identify any problem areas, and determine the most suitable cleaning approach.
  2. Pre-Cleaning Preparation: Furniture and other items will be carefully moved to provide clear access to the floors. Protective measures may be put in place to safeguard adjacent surfaces and belongings.
  3. Dry Cleaning: A high-powered vacuum cleaner is used to remove loose dirt, dust, and debris from the surface of the tiles and grout lines. This step is crucial to prevent scratching during the wet cleaning process.
  4. Application of Cleaning Solution: A specialised cleaning solution is applied to the tiles and grout. This solution is designed to break down and lift dirt, stains, and grease without damaging the porcelain surface.
  5. Deep Cleaning: Using advanced equipment, such as steam cleaners or rotary scrubbers, the professionals will deep clean the tiles and grout. This step ensures the removal of stubborn stains and embedded dirt, restoring the tiles’ original appearance.
  6. Rinsing and Drying: The floor is thoroughly rinsed to remove any remaining cleaning solution and dirt. High-powered dryers or fans may be used to ensure the floor is completely dry before replacing furniture and other items.
  7. Sealing (if applicable): In some cases, a sealant may be applied to the grout lines to protect them from future stains and moisture. This step is particularly useful in high-traffic areas or kitchens and bathrooms where spills are common.
  8. Final Inspection and Touch-Ups: The cleaning team will perform a final inspection to ensure all areas have been thoroughly cleaned. Any missed spots or stubborn stains will be addressed during this stage.

Professional porcelain floor cleaning services offer a comprehensive solution to keep your floors looking pristine and well-maintained. With their expertise, advanced equipment, and specialised cleaning products, professional cleaners can deliver results that are difficult to achieve with regular household cleaning methods. By investing in professional cleaning, you not only enhance the appearance of your porcelain floors but also extend their lifespan, ensuring they remain a beautiful and functional part of your home for years to come.

If you’re in the Gloucestershire and Cotswolds area and looking for expert porcelain floor cleaning services, contact us today to schedule an appointment. Let our professionals take care of your floors, so you can enjoy the benefits of a spotless and well-maintained home.

Posted by William Gardner

Professional deep cleaning porcelain restaurant floor

Professional porcelain floor cleaning, this restaurant floor and receive no professional attention for well over a decade. The porcelain tiles held onto a lot of the soil because of their textured nonslip surface. It took several successive applications and processes to get the floor looking like new again

We did a final pass with the high-speed machine to burn off the surface making it more repellent to spills and dirt.

Please get in contact if you like us to give advice on any of your floors

Posted by Bruce Swait
Google Rating
5.0
Based on 41 reviews
×
js_loader
Call us for a free quote